
Hello
lovely readers!
Happy
Easter! Yay for four day weekends! If only every weekend could be so.
Made a start on all the chocolate gorge-fest-ing yet? If not then get
on it beauties! I hope you liked the Easter Bunny nail tutorial from
my last post, I've managed to roll out one more Easter mani to share
with you & this one was especially for my work colleague who has
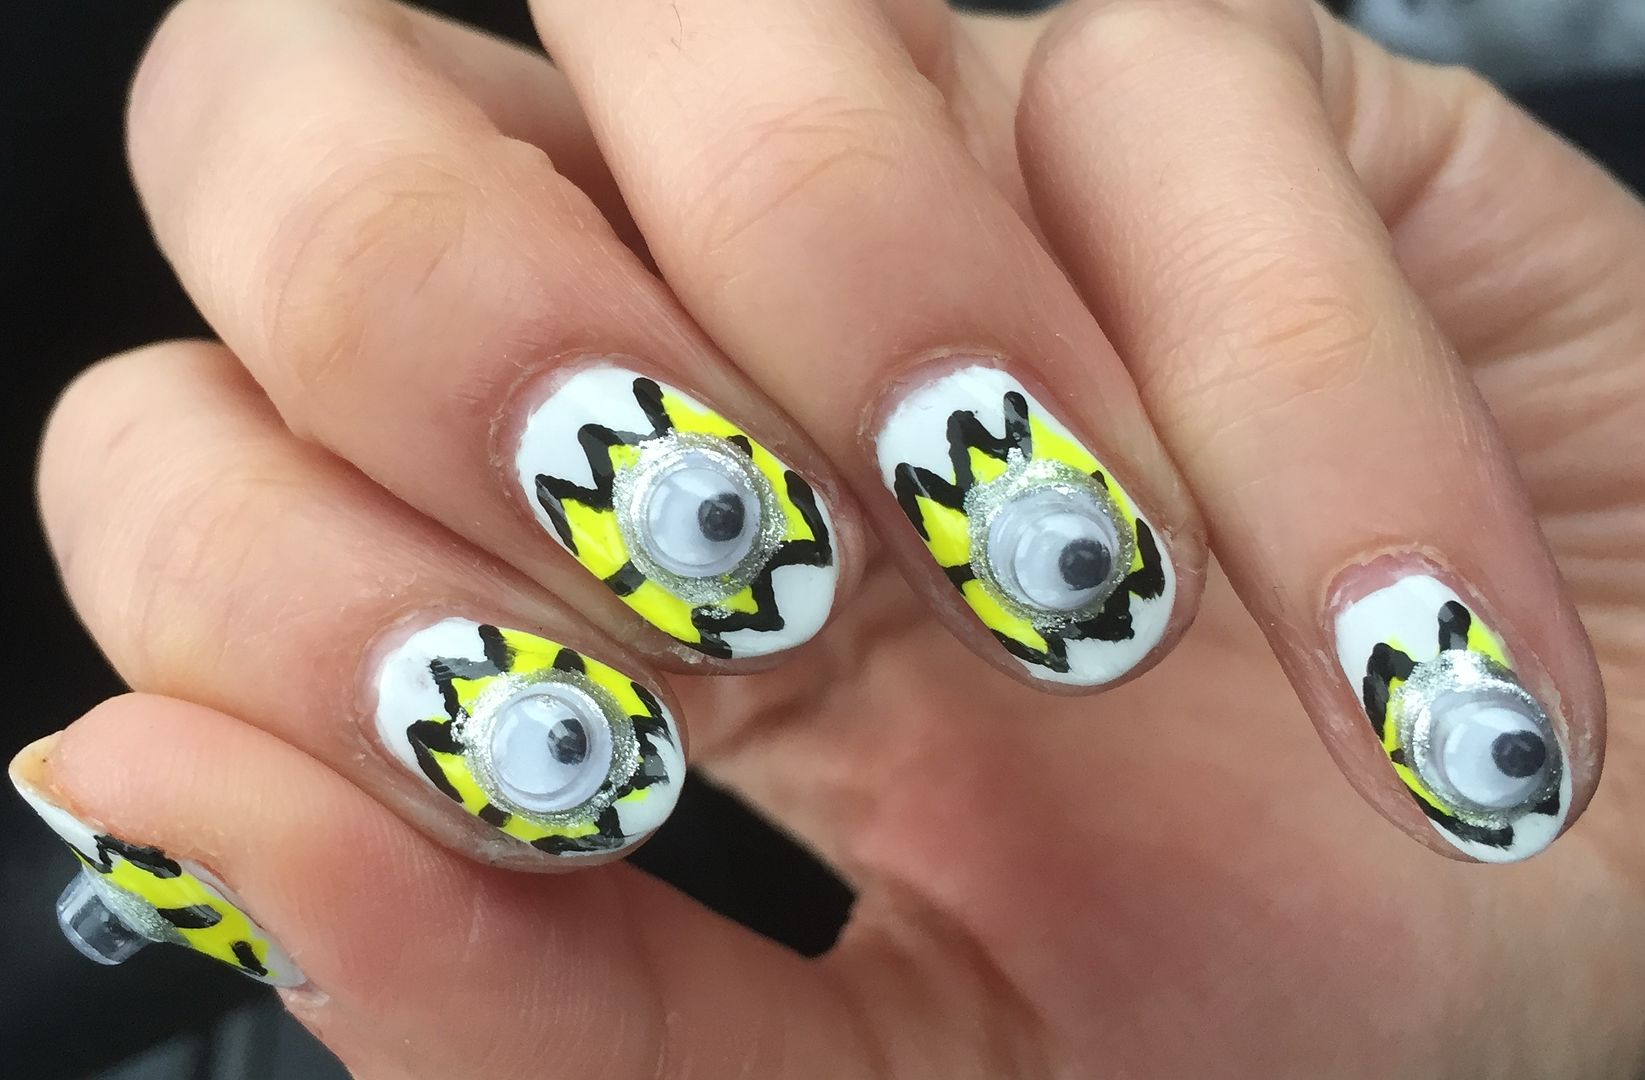
a thing for minions...who doesn't, those guys are adorable! Remember I told you I had some googly eyes lying around? Well here's
how they come of use...
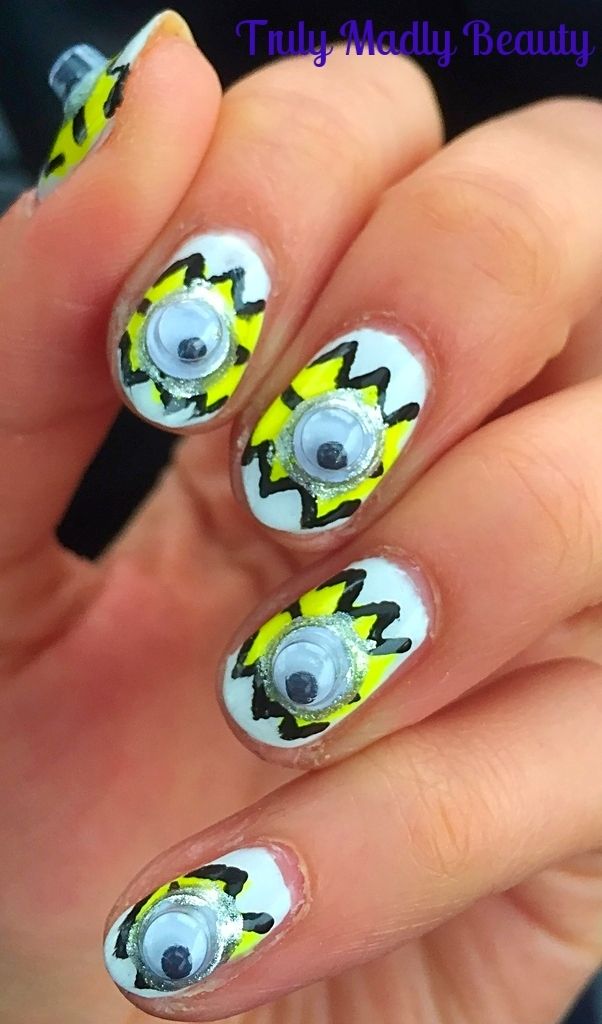
Minion
chickies cracking out of their shells! Haha! Well it sure was
different lets put it that way & went down well with
aforementioned work chum so high minion fives! And my nails made
jiggly sounds whenever I shook my fingers (which was often)...that
was quite entertaining too. I'm easily amused.
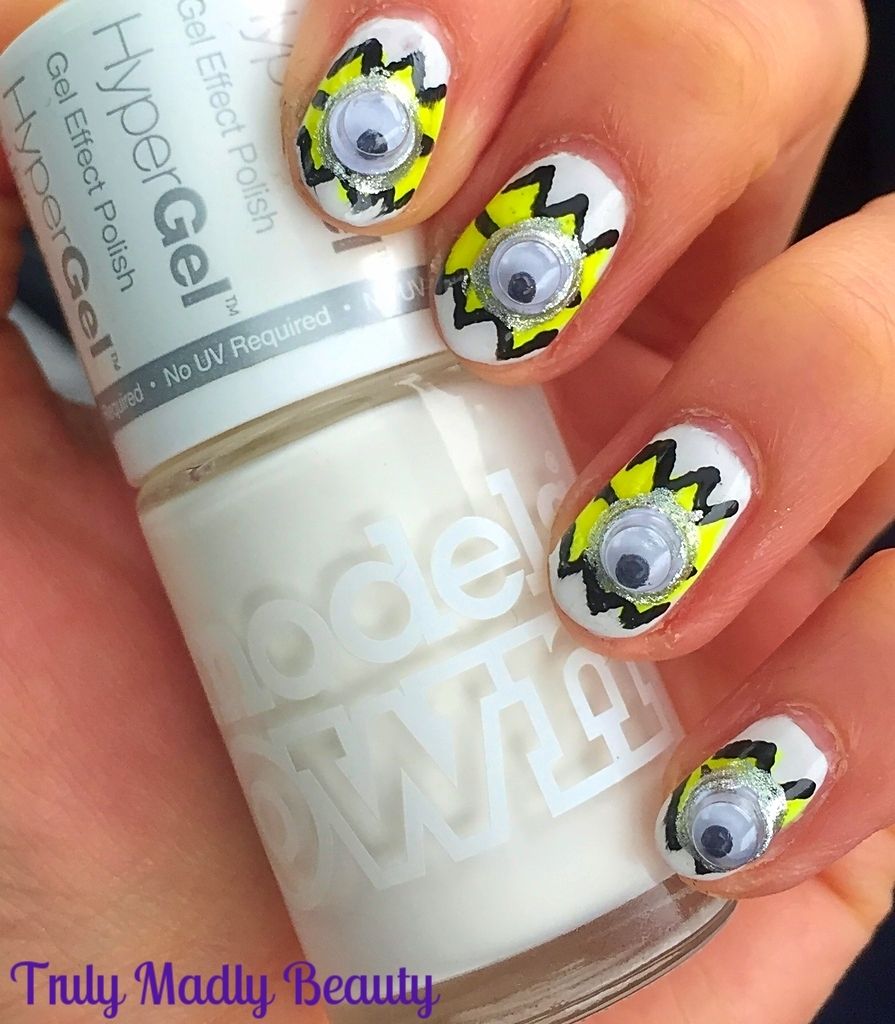
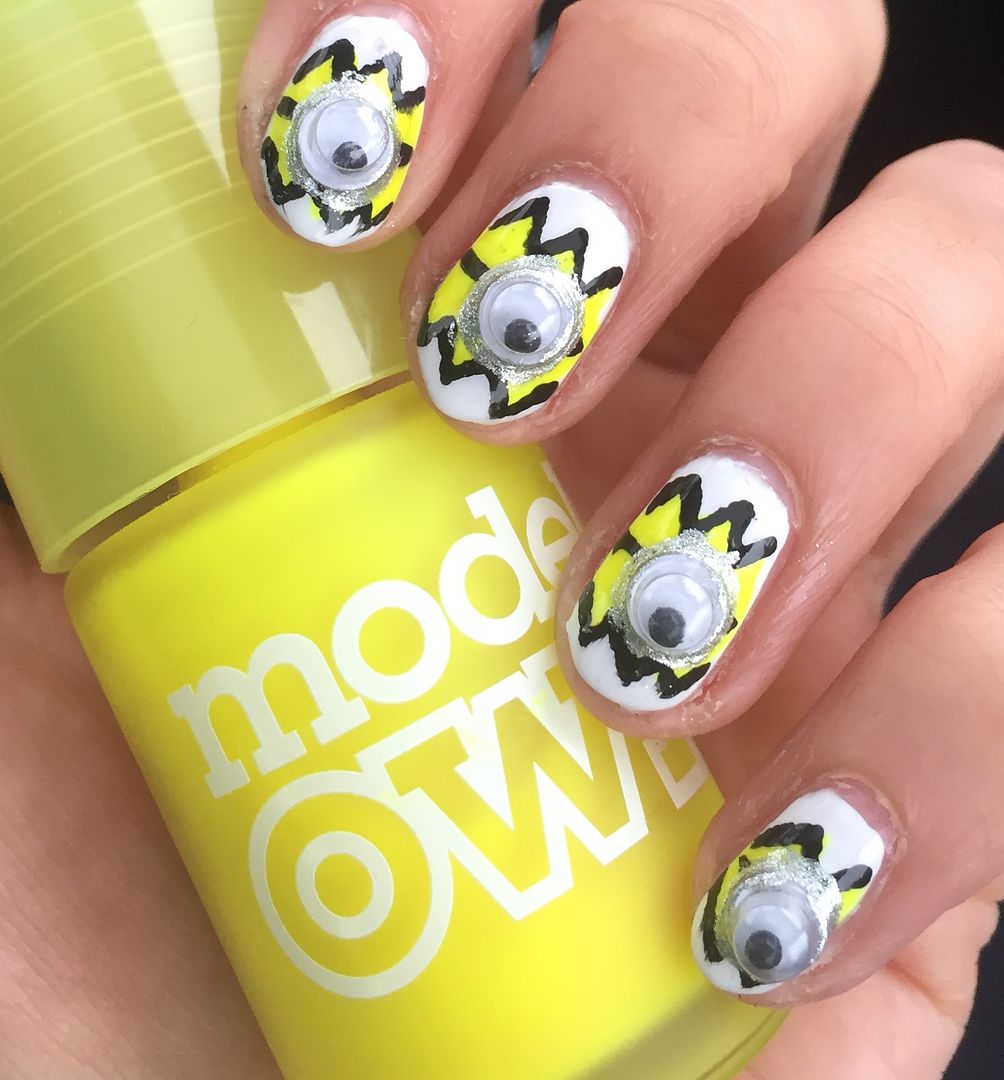
Again
I reached for my trusty Models Own polishes to create my minion
nails, for the white shells I used Models Own HyperGel in White Light
and Models Own Neon in Luis Lemon for the minion chicks themselves.
If
you want to re-create this design then here's a step by step
breakdown on how to do so!
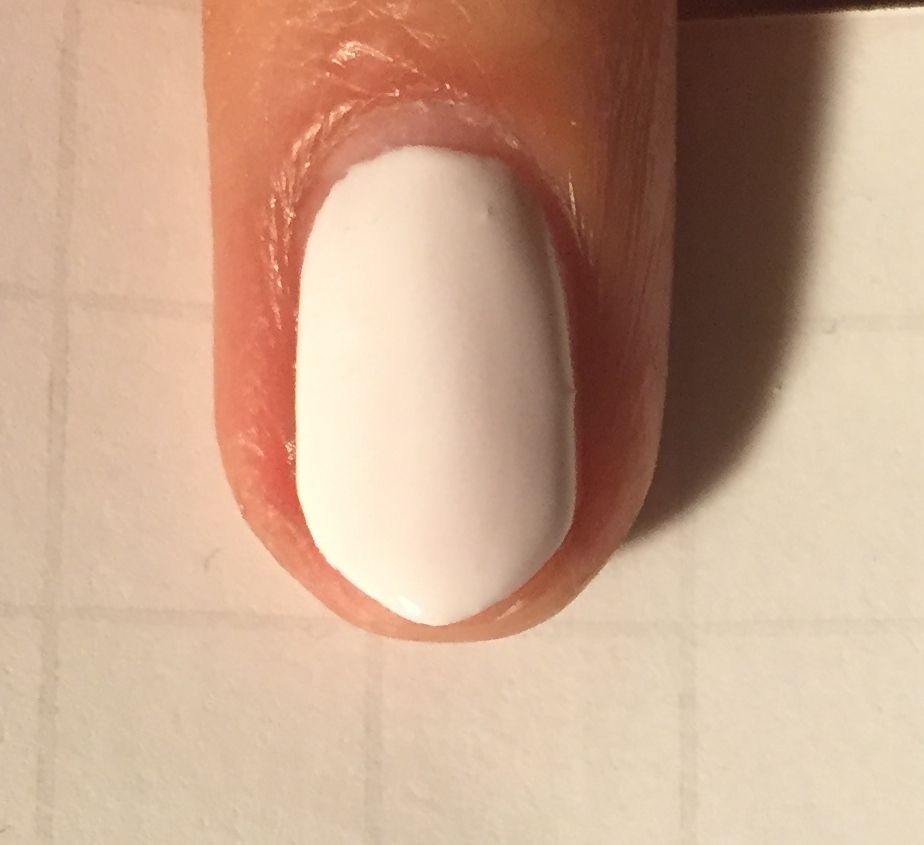
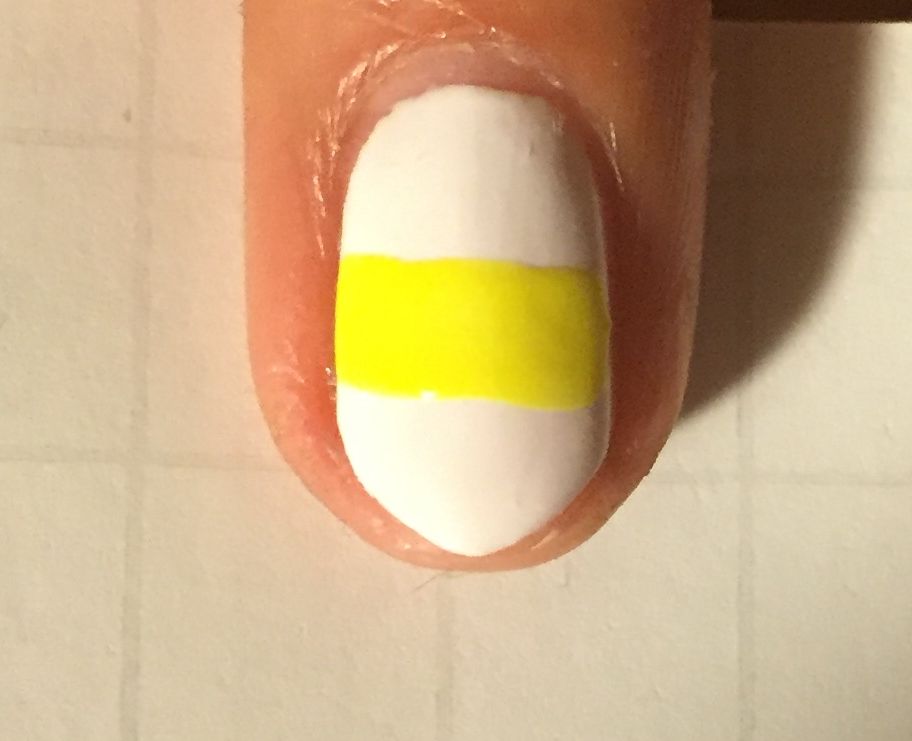
Start
with your white base, here I've used two coats of the Models Own White
Light
Then
grab your yellow polish & apply a horizontal strip of yellow
across the middle of the nail using the polish brush
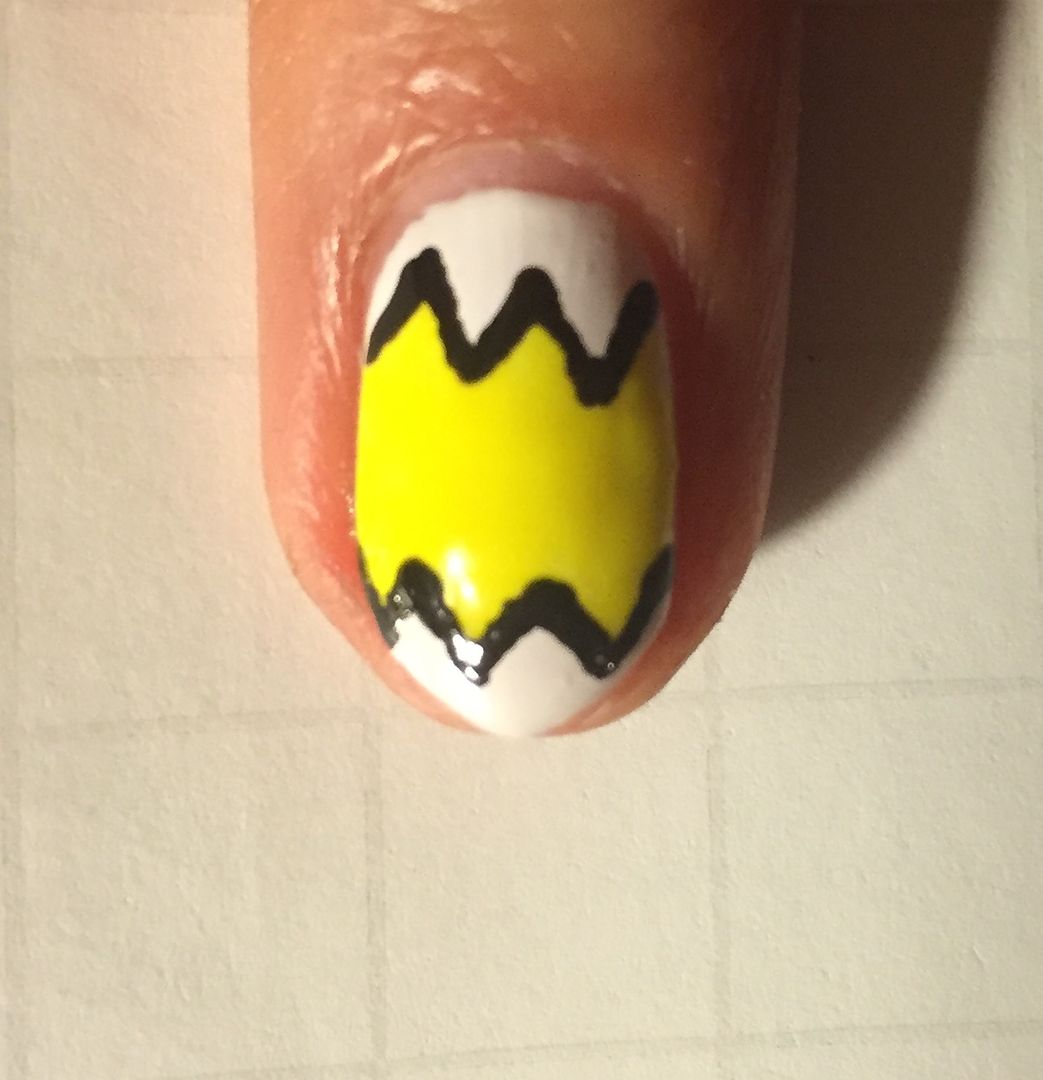
Now
grab a finer nail art brush & using the same yellow polish, apply
three triangles above the yellow line & three below, before
filling in with more yellow polish

Because
my yellow was so neon it kind of faded in to the white so to make the
egg shell cracks more prominent I went over the edge of the yellow triangles with some black polish using a fine nail art pen.
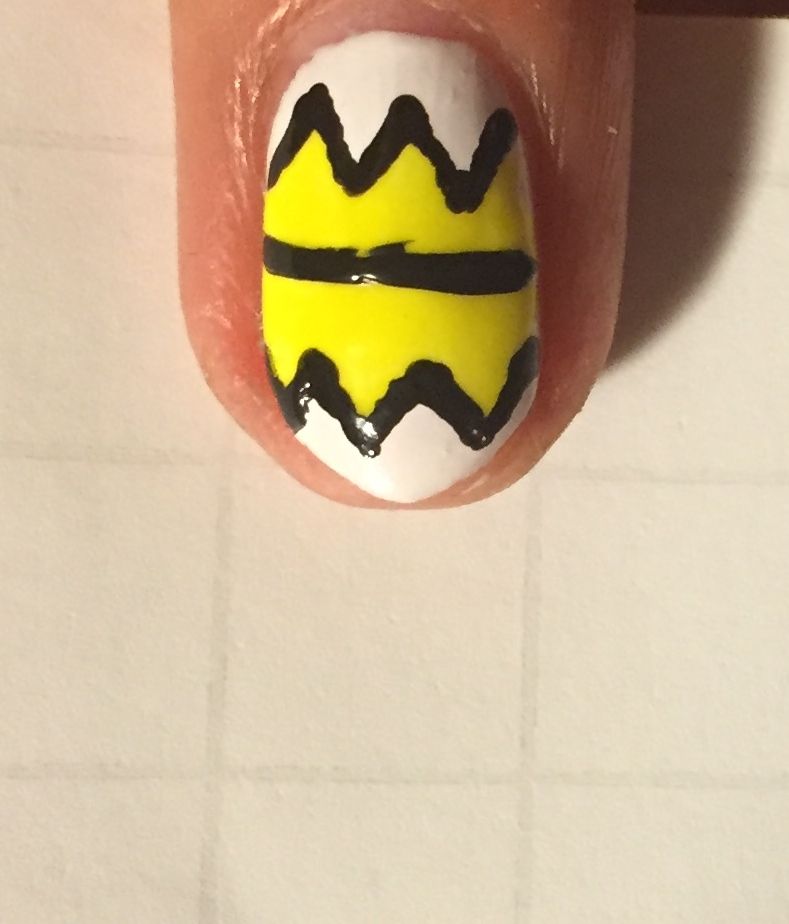
Using
the same nail art pen, apply a thin horizontal black line in the
middle of the yellow
Then
apply a thick large round circle of silver polish in the centre of
that black line, this was an old Sonia Kashuk polish I had that was
nearest at the time!

Then
whilst the polish was still wet I stuck on my little google eyes
which I had lying around...as you do! Of course if you don't have
these then you can just add a smaller white circle of polish inside
the silver before adding a black dot for the pupil!
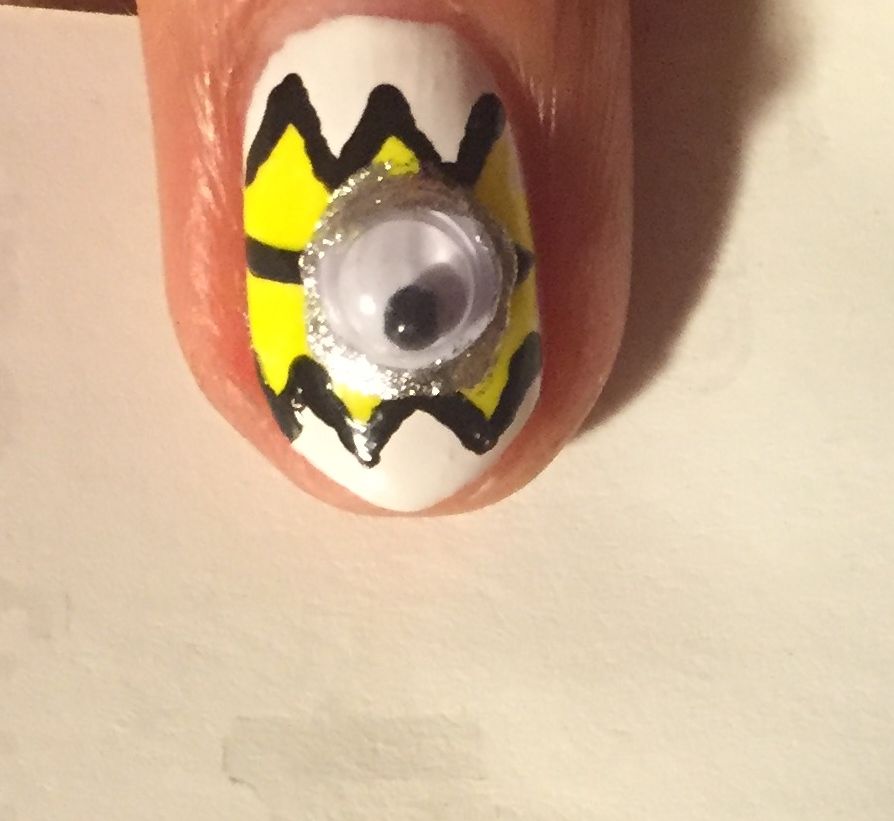
To
finish I applied a bit more silver around the rim of the googly eyes
to help secure them before adding about two coats of topcoat just to
make sure they stayed put.
And
thats it! A fun yet quirky Easter mani...I am partial to bouts of
oddness ;) Thanks as always for reading, have a fab Easter dolls!
Lotsa
love to ya!

No comments:
Post a Comment
I'd love to hear your comments & thoughts lovely people! They make me happy! :) Do check back as I will always do my best to reply back to you :) xoxo