
Hello
lovely readers!
Squeezing in a last Autumnal manicure for you beauties today! One of the things I've
repeatedly told myself can definitely be considered one of the
positives of moving has been that I've had to select only a few of my
polish drawers from my stash to take with me...This naturally grieved
me greatly at first, but it does mean that I'm getting usage out of
many polishes that I would probably normally skim over in favour of
my other more well know brands. See? Positive mental attitude FTW
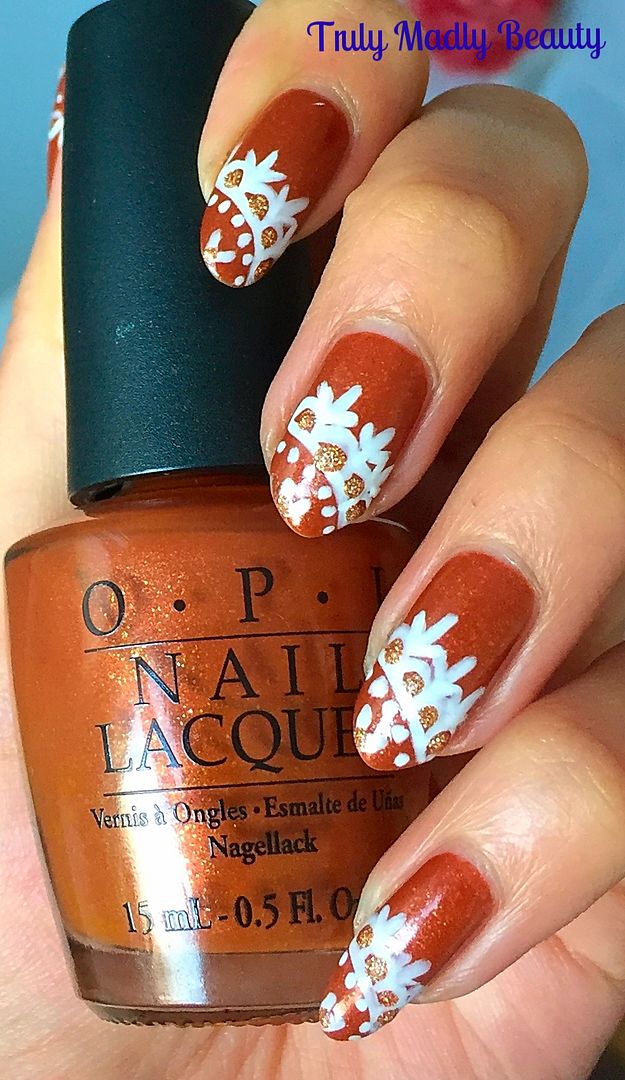
This also includes finding myself reaching for shades that I would not normally choose, including this offering from OPI which I have for you today & goes by the name of Bronzed To Perfection
Normally,
a shade such as this would not particularly grab me, but with its
burnt orange brown tones it seemed the perfect colour to dig out for
the season & I confess it has most certainly grown on me greatly.
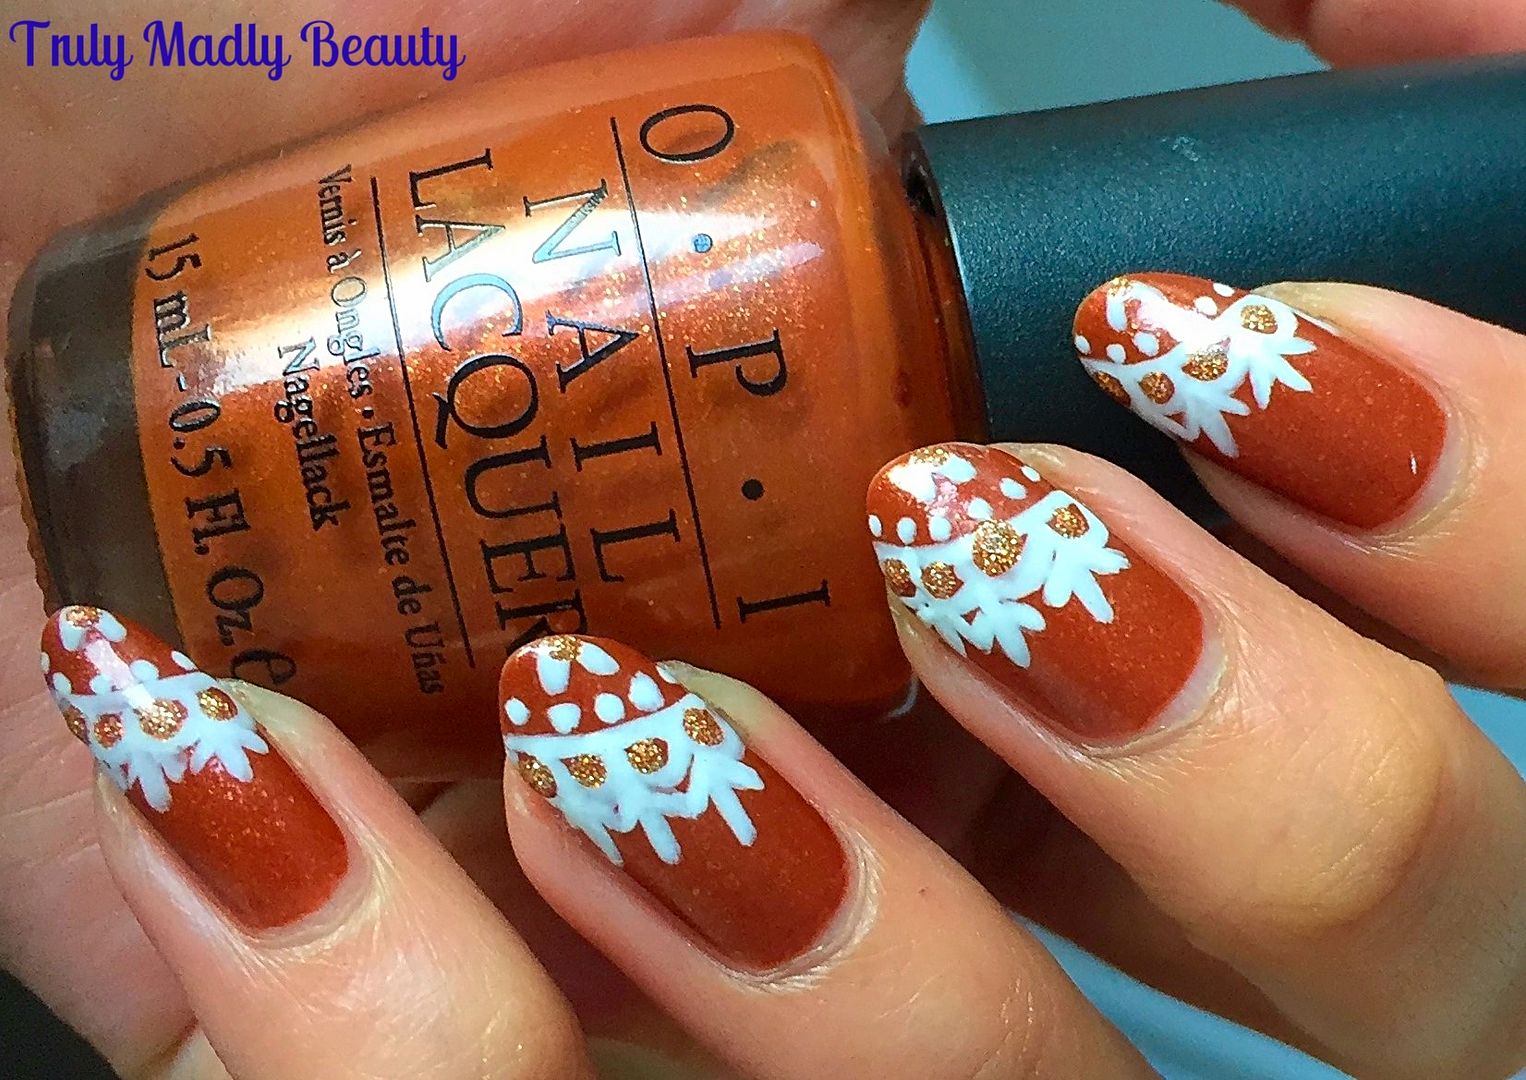
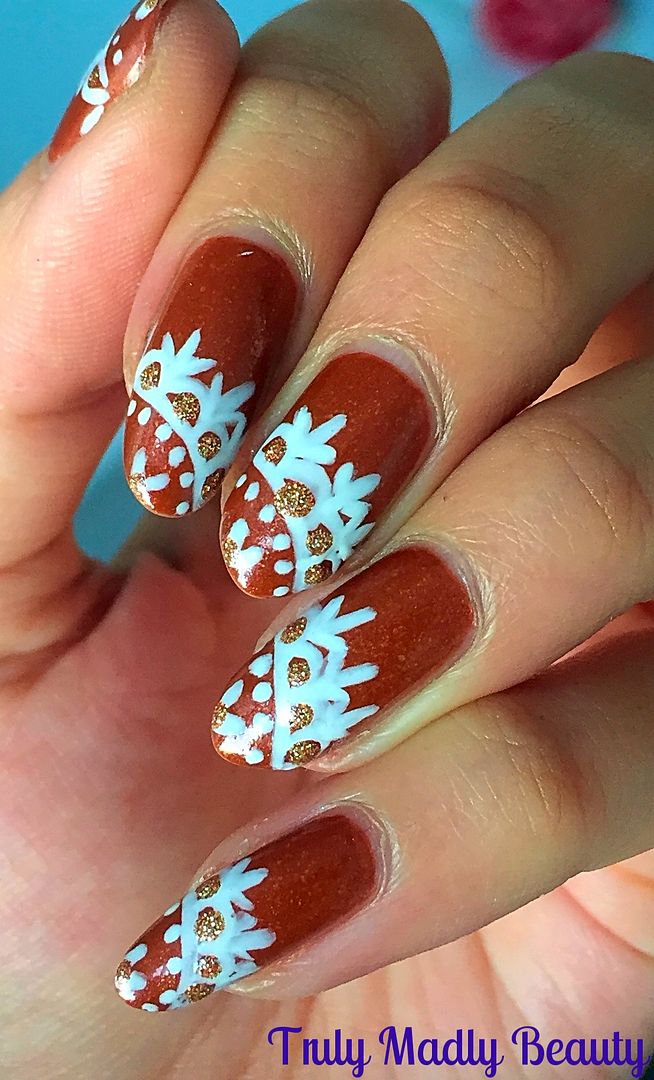
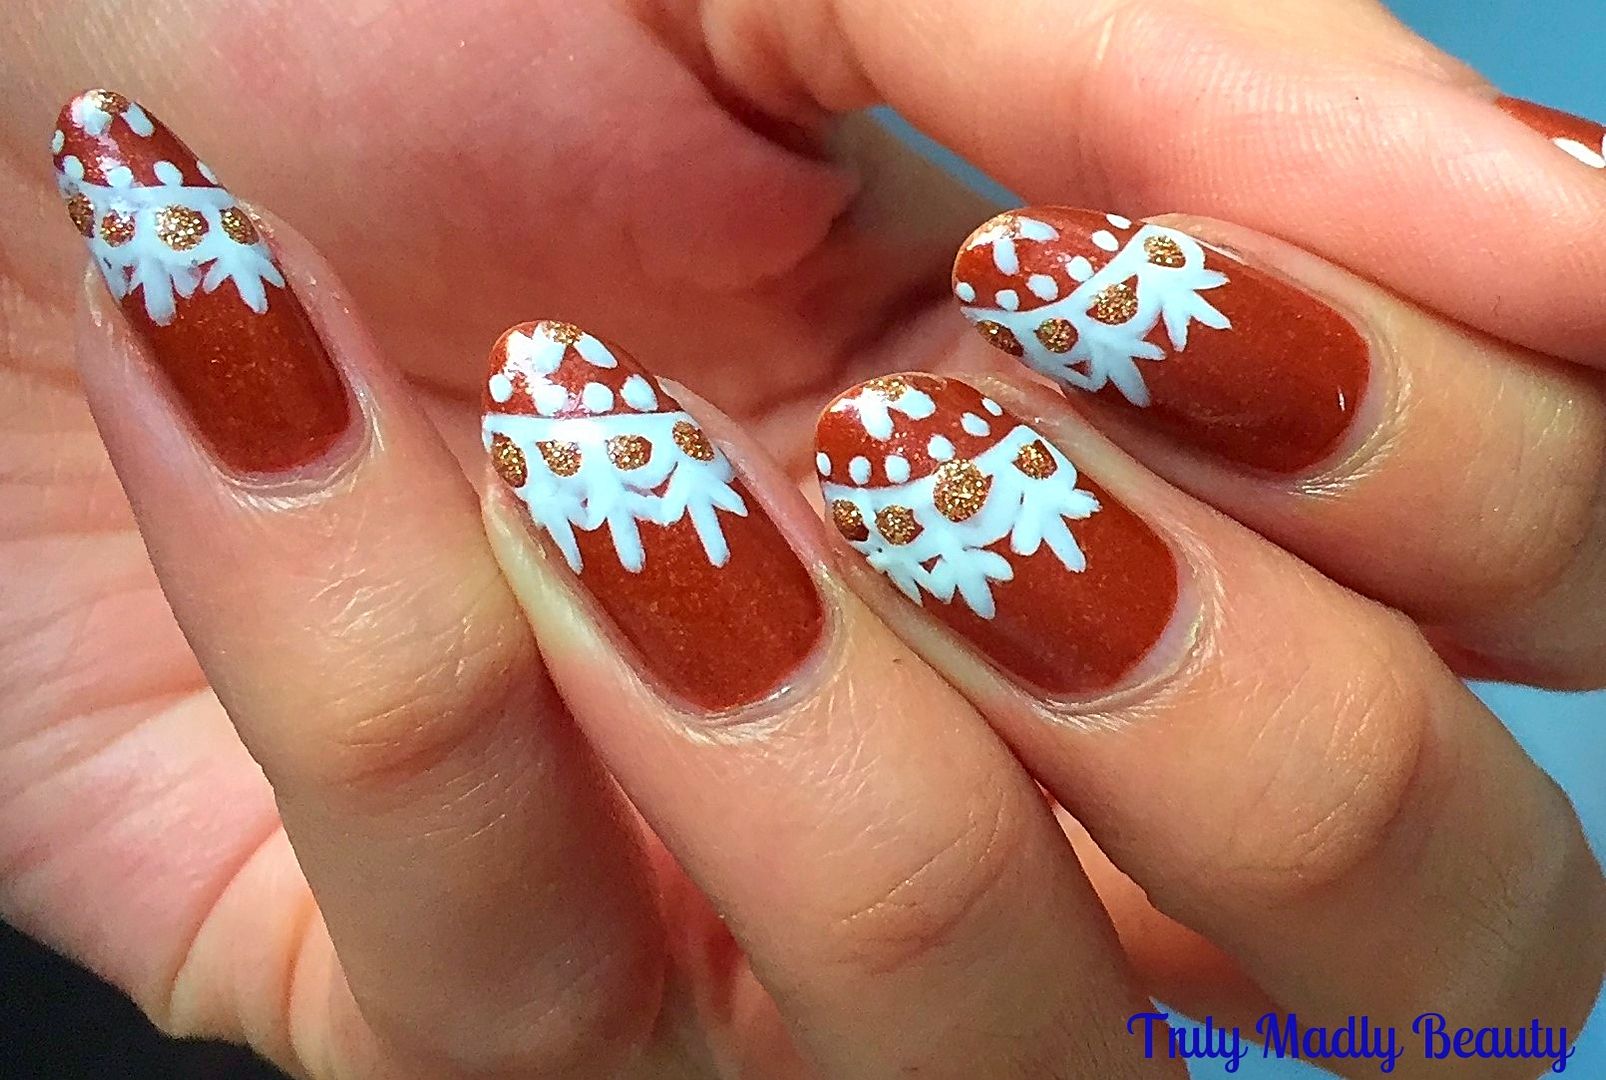
A
beautifully warm, caramel brown with coppery shimmer touches Bronzed
To Perfection definitely screams Autumn vibes. As pretty as it is by
its onesie I decided to jazz it up a tad with some lace nail art
touches.
To
recreate this lace pattern is super simple and its become one of my
favourite quick nail art designs to do, just read on to see how you
can create this design as well in a quick step by step pictorial I've
put together for you....
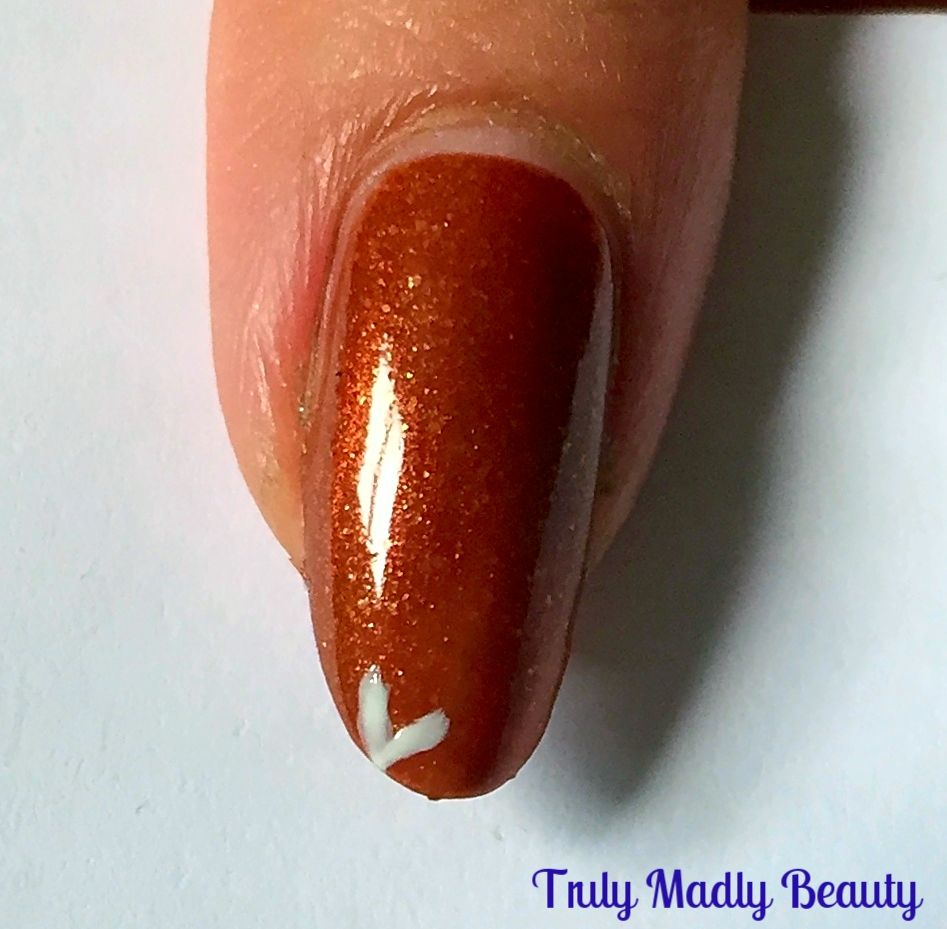
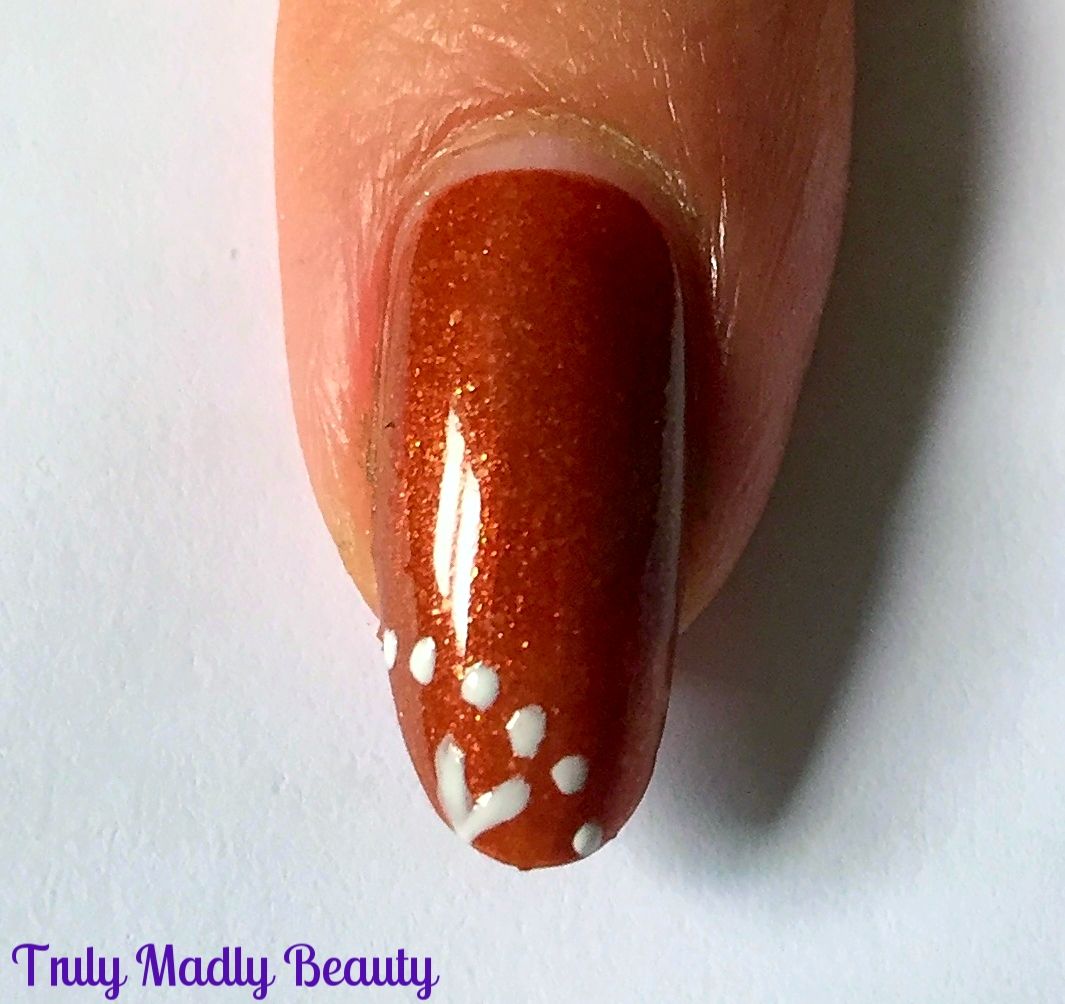
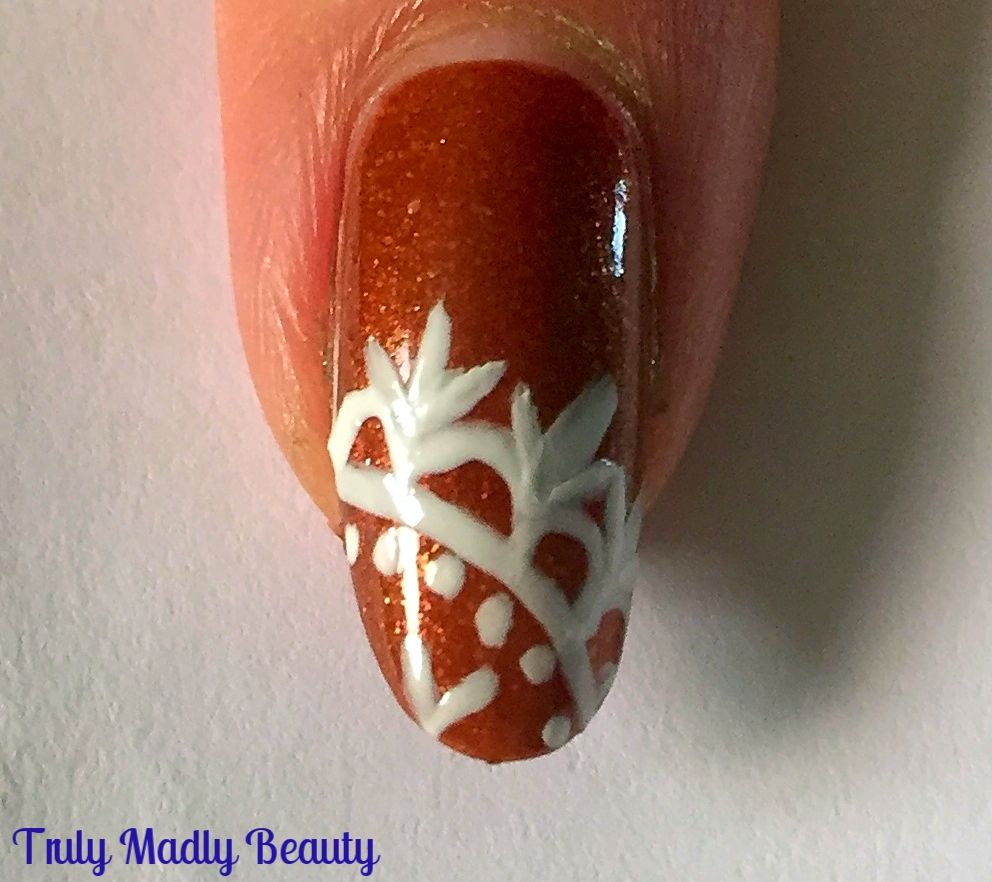
After
your base colour has dried, grab your nail art brush & some white
polish and begin by applying a tiny V on the side of the tip like
so...
Next,
using a wee dotting tool, apply a curved row of white dots around
your V.
Then
grabbing your brush again, apply a curved line just above your dots.
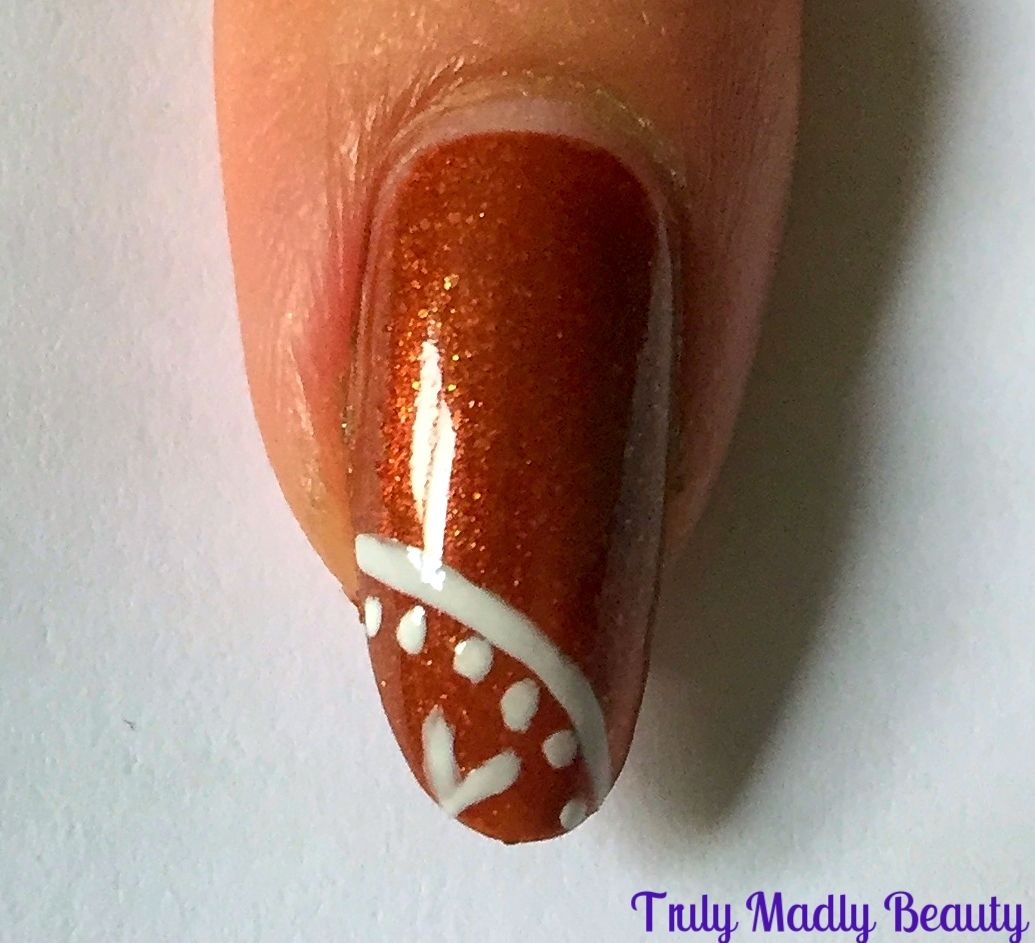
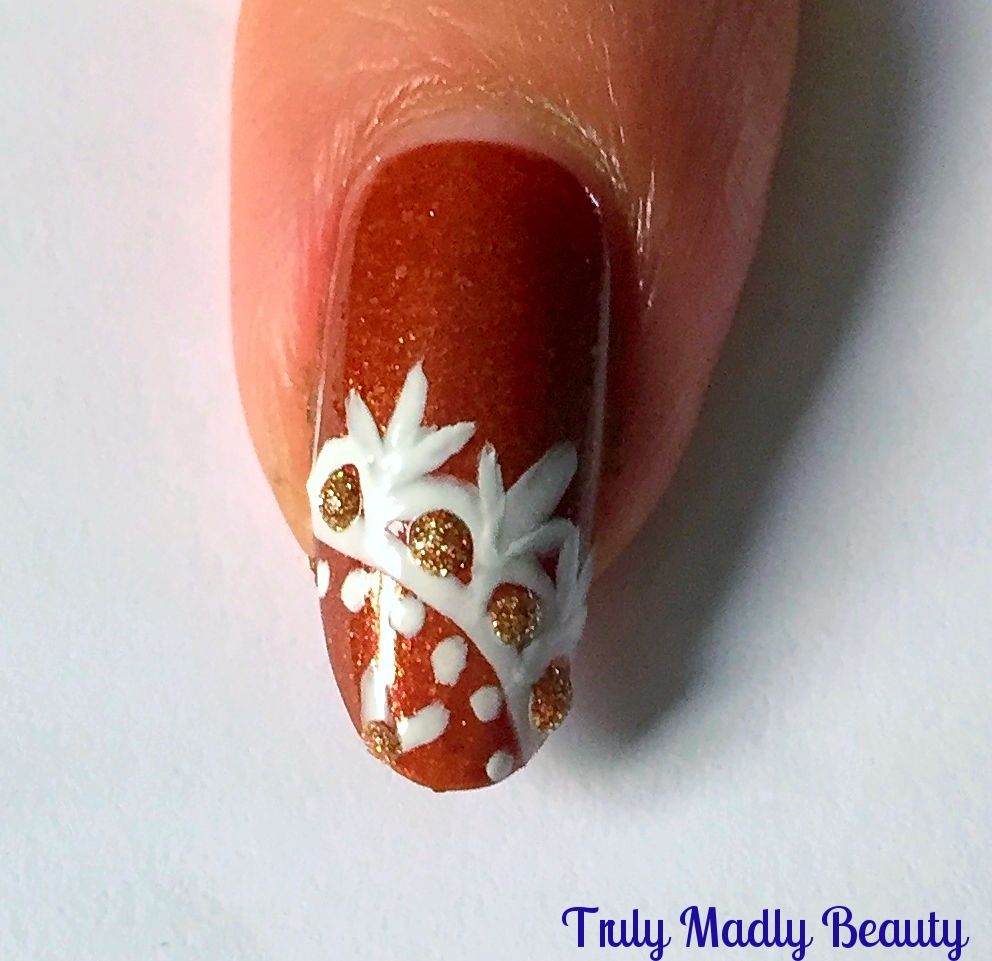
For
the next part of the design, again with your fine brush & polish,
apply a row of small semi-circles along the top of your curved
line...
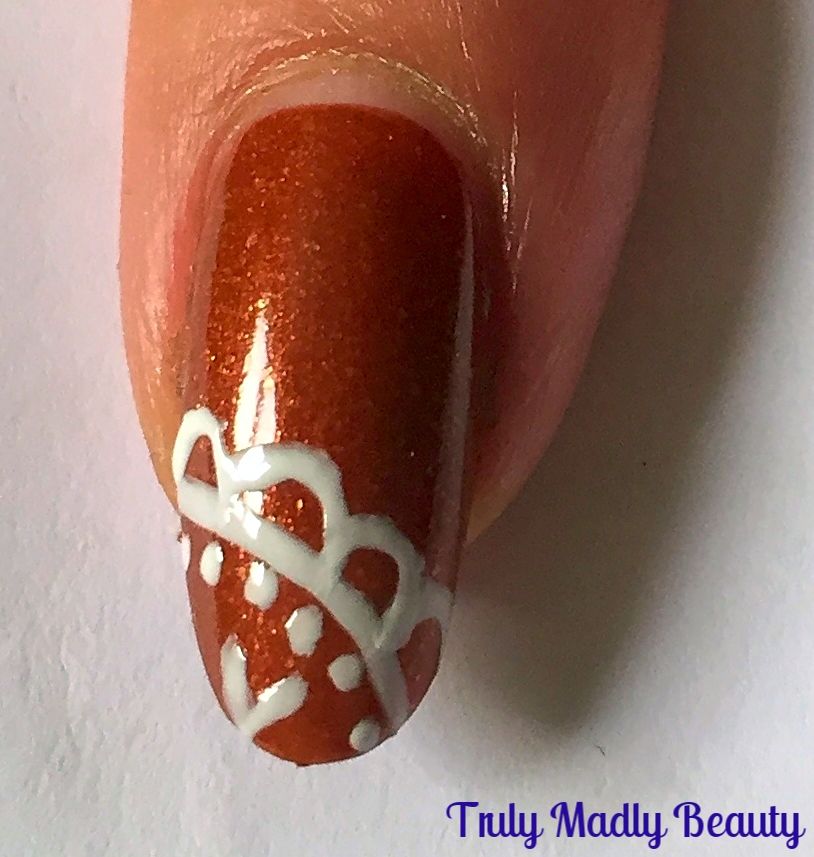
See
the pretty lace design slowly coming together? Next step is to apply
a straight line in between each of your little curves as shown....
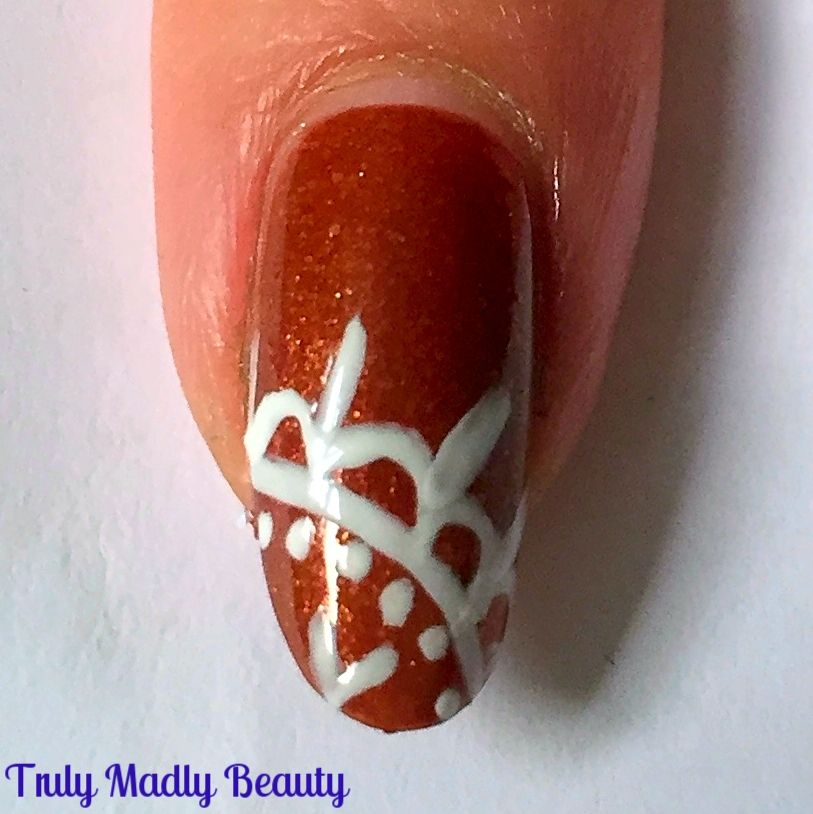
Then
finally to finish your lace pattern, add on two little lines either
side of the straight line.
This
is an additional step you can skim over but I naturally couldn't
resist adding a touch of golden glitter in between the gaps.
Finish
with top coat and thats it! Easy peasy right?! I love doing lace
details to jazz up my block colour mani's :) Do give it a go!
Thanks
as always for stopping by beauts!
Lotsa love to ya!

No comments:
Post a Comment
I'd love to hear your comments & thoughts lovely people! They make me happy! :) Do check back as I will always do my best to reply back to you :) xoxo